
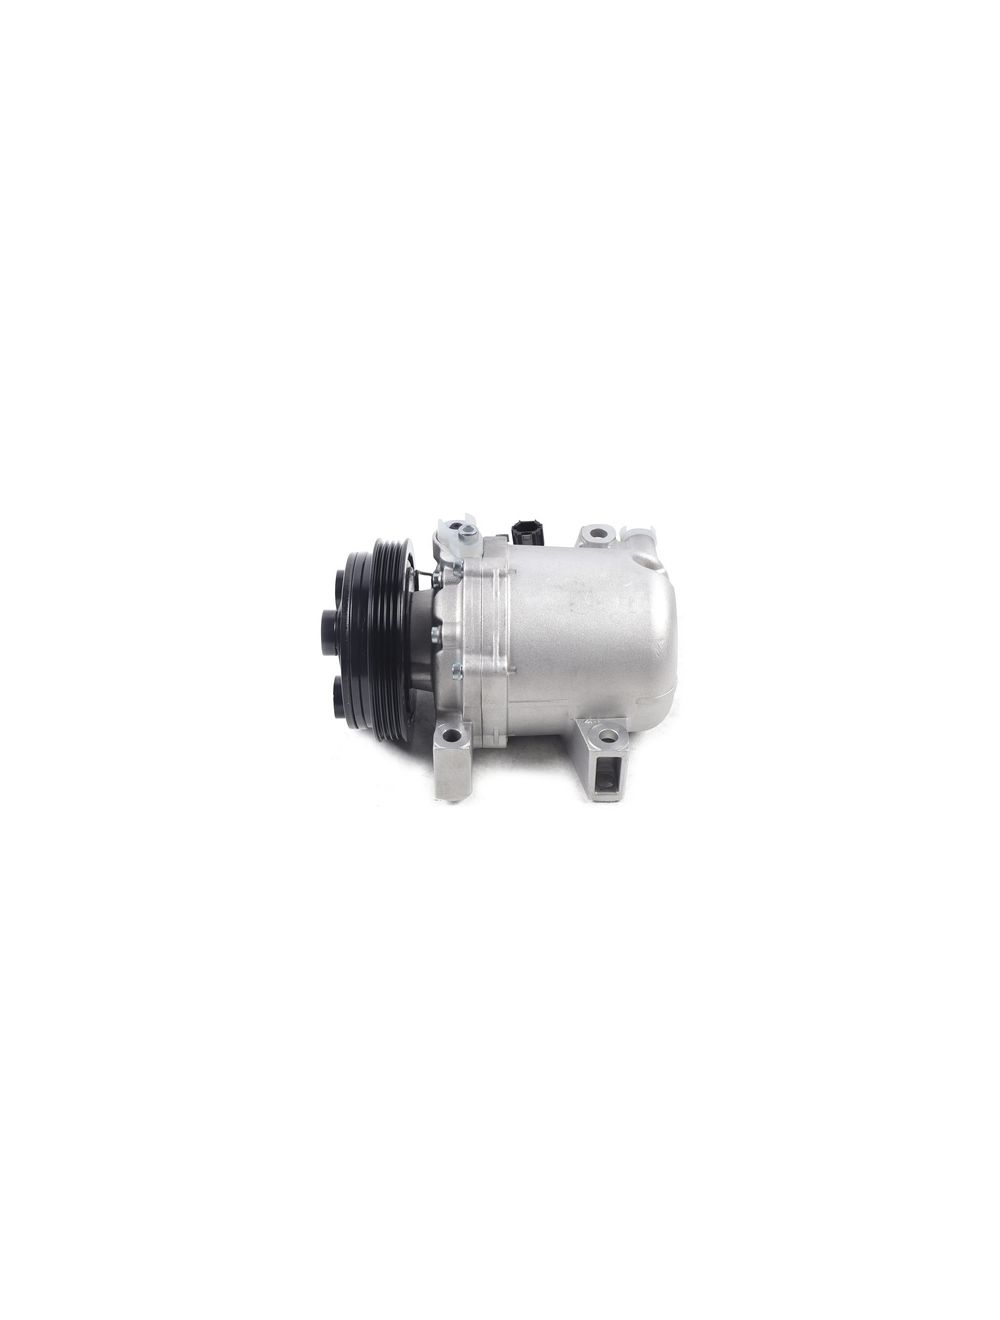


AC Compressor w/ Clutch for Subaru Impreza WRX STI 2002-2007 2.0L 2.5L CO 11153C
| Manufacturer Part Number | CO 11153C, 5511692, 6511692, 7511692, 2011261AM |
|---|---|
| Interchange Part Number | 73111FE021, 73111FE040, 57883, 58883, 68658, 80416 |
| Superseded Part Number | 10362880, 255607, 255612, 140118C, 6051428, C1356, C2545 |
| Oil Type | Pag 46 |
| OE/OEM Part Number | CO 11153C |
| * Feature * | Creative Design,Durable Material,Beautiful Appearance |
| Feature 1 | Easy installation,Convenient Use,Easy Operation |
| Placement on Vehicle | Front |
| Clutch Diameter | 5.000" 4 Groove |
| Compressor Drive Type | Belt Driven |
| Pulley Groove Quantity | Does Not Apply |
| Universal Fitment | Yes |
| Type | Compressor & Clutch Assembly |
| Manufacturer Part Number | CO 11153C, 5511692, 6511692, 7511692, 2011261AM |
|---|---|
| Interchange Part Number | 73111FE021, 73111FE040, 57883, 58883, 68658, 80416 |
| Superseded Part Number | 10362880, 255607, 255612, 140118C, 6051428, C1356, C2545 |
| Oil Type | Pag 46 |
| OE/OEM Part Number | CO 11153C |
| * Feature * | Creative Design,Durable Material,Beautiful Appearance |
| Feature 1 | Easy installation,Convenient Use,Easy Operation |
| Placement on Vehicle | Front |
| Clutch Diameter | 5.000" 4 Groove |
| Compressor Drive Type | Belt Driven |
| Pulley Groove Quantity | Does Not Apply |
| Universal Fitment | Yes |
| Type | Compressor & Clutch Assembly |
Ac Compressor W/ Clutch for Subaru Impreza Wrx Sti 2002-2007 2.0l 2.5l Co 11153cProduct Function Description:Features:It Could Correctly Replace the Original Quality Part. Fits (for the Reference):2004-2007 Subaru Impreza 2.5lThe Compatibility Is Just for Reference.
PreparationBefore you start to disassemble the automobile air conditioning compressor, you need to do the following preparatory work.1.
Make sure the car has been parked and completely turned off.2.
The vehicle should be in a flat and safe environment, avoiding operation on slopes or unstable ground.3.
Wear acid and alkali-resistant gloves and goggles for protection.2. Disassemble the air conditioning compressor2.1 Compressor location determinationBefore removing the air conditioning compressor, its location needs to be determined.
Typically, the air conditioning compressor is located at the front of the engine compartment, and its exact location can be found through the technical manual provided by the vehicle manufacturer or online resources.2.2 Discharging the refrigerantBefore removing the air conditioning compressor, the refrigerant in it must be drained.
This is very important as refrigerants can be harmful to the environment and illegal.
The following are the steps for discharging the refrigerant.1.
Open the hood of the vehicle.2.
Locate the refrigerant charging and discharging ports on the air conditioning compressor.3.
Use a refrigerant recovery machine to pump out the refrigerant and store it.
Be sure to follow local regulations to ensure proper handling of the refrigerant.2.3 Removing the connecting pipingAfter discharging the refrigerant, it is necessary to remove the connection pipes on the air conditioning compressor.
These pipes are usually bolted or clamped to the compressor.
The following are the steps for removing the connecting pipes.1.
Loosen the bolts or pliers on the connecting pipes with the appropriate tools.2.
Carefully separate the connecting pipe from the compressor.
It may be necessary to shake the connection pipes gently to loosen them.2.4 Removing the electrical connectionsAfter removing the connecting pipes, it is necessary to remove the electrical connections on the compressor.
These electrical connections are usually secured to the compressor by plugs or screws.
The following are the steps for removing the electrical connections.1.
Locate the electrical connections on the compressor.2.
If there is a plug connection, carefully unplug it from the compressor.3.
If there is a screw connection, use the appropriate tool to loosen the screw and remove the wire.2.5 Removing the compressorAfter completing the above steps, the entire air conditioning compressor can now be removed.
The following are the steps for removing the compressor.1.
Remove the bolts or screws holding the compressor in place using a wrench or wrench glove device.2.
Carefully remove the compressor from its mounting position.3. Installation of a new air-conditioning compressor3.1 Preparation for installing a new compressorBefore installing a new air conditioning compressor, some parts need to be prepared.
The following are the steps of preparation.1.
Clean the joints of the connecting pipes and make sure that their surfaces are clean and dust-free.2.
Prepare the new compressor and make sure it fits your vehicle model and cooling system.3.
Prepare new washers, bolts, or screws to fix the new compressor.3.2 Installing the air conditioning compressorThe following are the steps for installing a new air conditioning compressor.1.
Carefully place the new compressor in its mounting position.2.
Use new bolts or screws and place washers in the necessary positions before installation.3.
Tighten the compressor bolts or screws using a wrench or wrench-glove device.3.3 Connecting the wiresThe following are the steps for connecting the wires.1.
Connect the compressor wires to the new compressor.
Depending on the disassembly procedure in the previous section, plug or screw connections may be required.2.
Make sure the wires are securely connected.3.4 Connecting the pipeThe following are the steps for connecting the pipe.1.
Gently insert the connection of the connecting pipe into the corresponding connection of the compressor.2.
Use a tool to tighten the bolts or pliers connecting the pipe to ensure a tight connection.4. Testing the new unitAfter installing a new air conditioning compressor, it needs to be tested to make sure it is working properly.
The following are the steps to test the new unit.1.
Close the hood of the vehicle.2.
Start the engine and turn on the air conditioning system.3.
Observe the air conditioning system for proper operation and use a thermometer or feel to determine if the system is producing cold air.4.
Make sure there is no unusual noise or odor from the compressor.
If the test reveals any problems, it is advisable to seek the help of a professional automobile mechanic.5. SummarizeWith the above steps, we can carry out the disassembly and installation of automobile air conditioning compressor smoothly.
Please be sure to follow the vehicle manufacturer's service manual, safety codes, and relevant local regulations to ensure personal safety and proper handling of refrigerant. Disassembling and assembling the auto air conditioning compressor requires certain skills and experience, if you are not sure of the operation steps or do not have the neceWhen you receive this compressor item, please first check if there is any damage to the compressor, and then manually rotate the wheels and suction blades to see if there are any abnormalities.
Furthermore, please confirm if the 12V plug of the power clutch is properly powered on. Automotive Air Conditioning Compressor Disassembly andAssemblingSteps1.
PreparationBefore you start to disassemble the automobile air conditioning compressor, you need to do the following preparatory work.1.
Make sure the car has been parked and completely turned off.2.
The vehicle should be in a flat and safe environment, avoiding operation on slopes or unstable ground.3.
Wear acid and alkali-resistant gloves and goggles for protection.4. When you receive this compressor item, please first check if there is any damage to the compressor, and then manually rotate the wheels and suction blades to see if there are any abnormalities.
Furthermore, please confirm if the 12V plug of the power clutch is properly powered on2. Disassemble the air conditioning compressor2.1 Compressor location determinationBefore removing the air conditioning compressor, its location needs to be determined.
Typically, the air conditioning compressor is located at the front of the engine compartment, and its exact location can be found through the technical manual provided by the vehicle manufacturer or online resources.2.2 Discharging the refrigerantBefore removing the air conditioning compressor, the refrigerant in it must be drained.
This is very important as refrigerants can be harmful to the environment and illegal.
The following are the steps for discharging the refrigerant.1.
Open the hood of the vehicle.2.
Locate the refrigerant charging and discharging ports on the air conditioning compressor.3.
Use a refrigerant recovery machine to pump out the refrigerant and store it.
Be sure to follow local regulations to ensure proper handling of the refrigerant.2.3 Removing the connecting pipingAfter discharging the refrigerant, it is necessary to remove the connection pipes on the air conditioning compressor.
These pipes are usually bolted or clamped to the compressor.
The following are the steps for removing the connecting pipes.1.
Loosen the bolts or pliers on the connecting pipes with the appropriate tools.2.
Carefully separate the connecting pipe from the compressor.
It may be necessary to shake the connection pipes gently to loosen them.2.4 Removing the electrical connectionsAfter removing the connecting pipes, it is necessary to remove the electrical connections on the compressor.
These electrical connections are usually secured to the compressor by plugs or screws.
The following are the steps for removing the electrical connections.1.
Locate the electrical connections on the compressor.2.
If there is a plug connection, carefully unplug it from the compressor.3.
If there is a screw connection, use the appropriate tool to loosen the screw and remove the wire.2.5 Removing the compressorAfter completing the above steps, the entire air conditioning compressor can now be removed.
The following are the steps for removing the compressor.1.
Remove the bolts or screws holding the compressor in place using a wrench or wrench glove device.2.
Carefully remove the compressor from its mounting position.3. Installation of a new air-conditioning compressor3.1 Preparation for installing a new compressorBefore installing a new air conditioning compressor, some parts need to be prepared.
The following are the steps of preparation.1.
Clean the joints of the connecting pipes and make sure that their surfaces are clean and dust-free.2.
Prepare the new compressor and make sure it fits your vehicle model and cooling system.3.
Prepare new washers, bolts, or screws to fix the new compressor.3.2 Installing the air conditioning compressorThe following are the steps for installing a new air conditioning compressor.1.
Carefully place the new compressor in its mounting position.2.
Use new bolts or screws and place washers in the necessary positions before installation.3.
Tighten the compressor bolts or screws using a wrench or wrench-glove device.3.3 Connecting the wiresThe following are the steps for connecting the wires.1.
Connect the compressor wires to the new compressor.
Depending on the disassembly procedure in the previous section, plug or screw connections may be required.2.
Make sure the wires are securely connected.3.4 Connecting the pipeThe following are the steps for connecting the pipe.1.
Gently insert the connection of the connecting pipe into the corresponding connection of the compressor.2.
Use a tool to tighten the bolts or pliers connecting the pipe to ensure a tight connection.4. Testing the new unitAfter installing a new air conditioning compressor, it needs to be tested to make sure it is working properly.
The following are the steps to test the new unit.1.
Close the hood of the vehicle.2.
Start the engine and turn on the air conditioning system.3.
Observe the air conditioning system for proper operation and use a thermometer or feel to determine if the system is producing cold air.4.
Make sure there is no unusual noise or odor from the compressor.
If the test reveals any problems, it is advisable to seek the help of a professional automobile mechanic.5. SummarizeWith the above steps, we can carry out the disassembly and installation of automobile air conditioning compressor smoothly.
Please be sure to follow the vehicle manufacturer's service manual, safety codes, and relevant local regulations to ensure personal safety and proper handling of refrigerant. Disassembling and assembling the auto air conditioning compressor requires certain skills and experience, if you are not sure of the operation steps or do not have the necessary tools, please seek professional help.
Packing and shipping
|
Packaging Regulation : |
Wooden Box / Carton |
|
Delivery time : |
7~14 days(About) |
|
Conditions : |
New and Genuine |

How do you order?
Okcarpart makes ordering GET Parts easy. Simply send a mail to us. Instead of searching online and guessing which parts you need, our team will make sure you get the correct parts. We process and deliver your order fast, and always at a competitive price. Enjoy 5-star service!
1.IDENTIFY
Determine the parts you need. To ensure the correct parts are quoted, it's best to have the machine make and model, along with part numbers and photos of the nameplate if possible. Our team of professionals are here to help ensure you get the correct parts that fit and work the first time. Our sales team can also survey and help identify the parts you may need. Please email us to get started!
2.ORDER
Our professional internal sales teams and strong supply chain system will assist you to identify the right parts, and can recommend the most cost-effective solution for you. Our team of professionals will process your order, and ensure your order is correct the first time. With over 15 years in the business, we remove the guesswork and always deliver.
3.DELIVER
We'll ship or deliver your products as required, to your nominated location. If you're also located elsewhere, we'll identify the best shipping options for both price and delivery time. Email us now!
FAQs

Q1: What is the difference between OEM and Aftermarket parts, and how do I select the right quality level for my needs?
A: OEM (Original Equipment Manufacturer) parts guarantee exact fit and factory quality, typically at a higher cost. Our Aftermarket parts are sourced from certified manufacturers, often offering comparable performance and superior value. We clearly label all products to allow the customer to make an informed choice based on budget and required lifespan.
Q2: Since you are a global supplier, how do I calculate total shipping costs and estimated delivery time to my country/region?
A: Shipping costs are calculated based on part dimensions, weight, and the destination country during checkout. We offer multiple options (e.g., Economy, Express) with transparent, real-time tracking. Delivery times are clearly displayed and factor in customs processing for international orders.
Q3: What is the warranty period on your auto parts, and what does the warranty actually cover?
A: Most new parts carry a minimum 12-month limited warranty covering defects in material and workmanship, excluding wear and tear and improper installation. The specific warranty details (period and coverage) are clearly listed on each product page.
Q4: How secure is my personal and payment information when placing an order on "okcarpart" ?
A: We use industry-leading security protocols, including SSL encryption and reputable global payment gateways (TT, Visa, Mastercard, PayPal). We strictly comply with global data protection regulations to ensure customer information is secure and protected against fraud.
Q5: We conduct annual targeted procurement of autoparts and repair kits to sustain production. I'd like to know if there are any contract discounts available?
A: Absolutely. Our primary strength lies in supply capability. Whether it's OEM manufacturing or global inventory searches—from components to complete units—we can match your needs with the nearest partner's inventory for rapid delivery. Our global alliance enables transactions at wholesale agency rates.